A wooden spoon, from block to finished surface
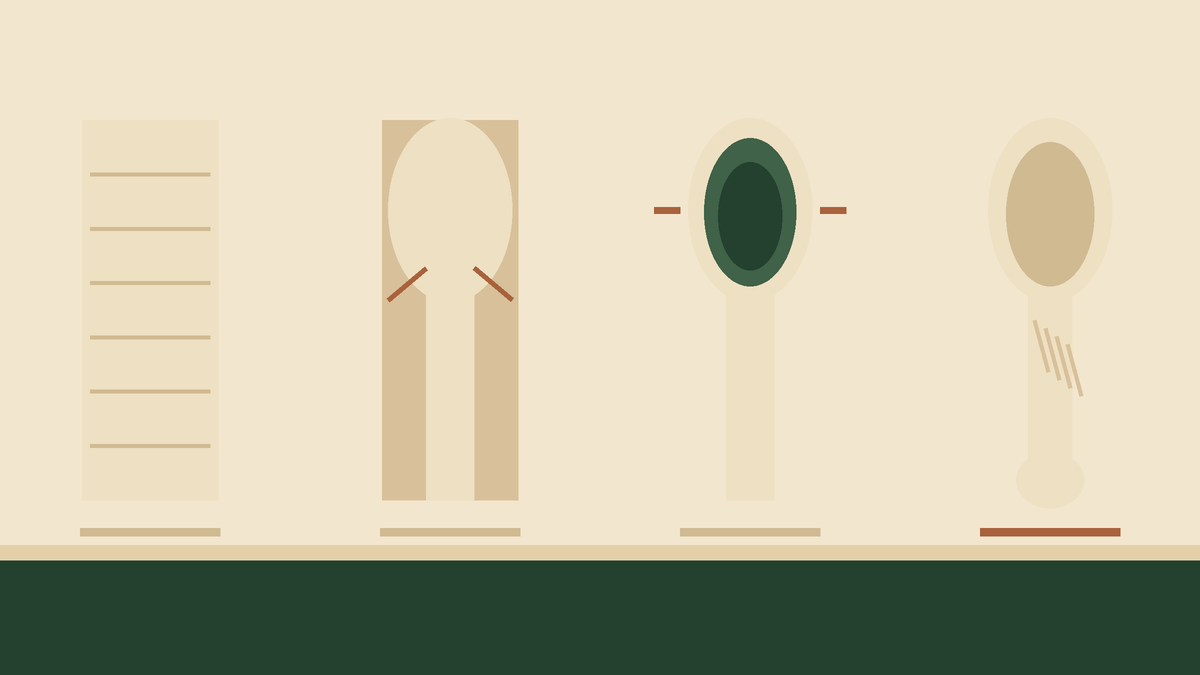
A spoon is the first project most carvers finish, and the one most often ruined in the last twenty minutes. Almost every failure traces back to sequence: hollowing after shaping, thinning the handle before the bowl is done, or continuing past the point where a wall is thick enough to fix.
Choosing the blank
For a first spoon, a straight-grained block 40 x 60 x 200 mm is generous and forgiving. Basswood carves easily but dents in use; if the spoon is meant for a kitchen rather than a shelf, cherry or maple is worth the extra effort.
The grain must run the length of the spoon, not across it. A handle with cross grain will break at the neck the first time it is used to lift anything, and no amount of thickness prevents it.
The order that works
- Draw the outline on the top face and the side profile on the edge. Both, before any cutting — the side profile is the one beginners skip and the one that determines whether the bowl sits flat.
- Saw or split away the bulk outside the outline, staying two or three millimetres proud of the line.
- Hollow the bowl. This comes before shaping the outside, because a hollow can be deepened but a thin outside cannot be thickened.
- Shape the outside of the bowl to match the hollow, working to a consistent wall thickness rather than to a drawn line.
- Shape the handle last, when nothing further will be clamped or braced against it.
- Refine the surface with a knife, then finish.
Hollowing
Work with a gouge or a hook knife from the rim toward the centre, in short strokes, rotating the piece constantly. The bowl has grain running in every direction relative to your cut, so no single direction works all the way round; you are always cutting from the high rim down into the low centre, on whichever side you happen to be.
Go to about 12 mm depth for a table spoon. Check the depth with a nail or a pencil laid across the rim rather than by eye, which consistently overestimates.
Wall thickness, and when to stop
Aim for 4 to 5 mm at the bowl walls. Below 3 mm the wood starts to flex under the knife and every subsequent cut chatters instead of slicing.
The test is light: hold the bowl up to a window. Thin areas glow, and that is your signal to stop taking material off that spot, not to even it out by thinning everywhere else.
The neck
Where the handle meets the bowl is the highest-stress point on the whole spoon and the place most likely to be over-thinned, because it is visually satisfying to make it delicate. Leave it noticeably thicker than looks right — at least 10 mm through the section — and shape it in profile rather than by reducing its cross-section.
Finishing the surface
A knife-finished spoon needs no sanding and holds up better without it, because sanding compresses fibres that later raise when wet. Take a final pass with a very sharp knife across the whole outside, leaving shallow facets that catch light.
For oil, use something food-safe that hardens: raw linseed, walnut or a proprietary hardening oil. Flood the surface, leave it twenty minutes, wipe off everything that has not soaked in, and repeat daily for three days. Mineral oil is safe but never hardens, so it needs reapplying constantly.
Let the spoon sit a week before use. The oil finishes hardening in that time, and a spoon washed on day one usually comes out looking blotchy where the finish had not yet set.